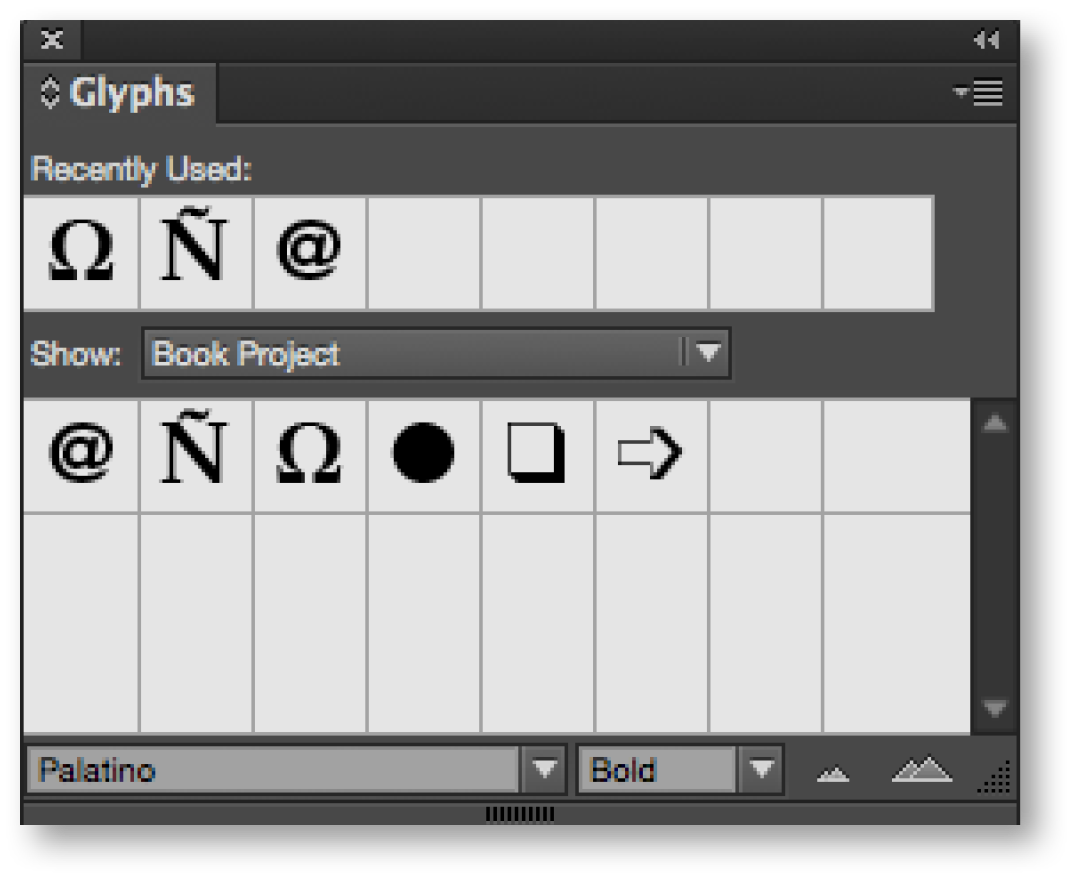
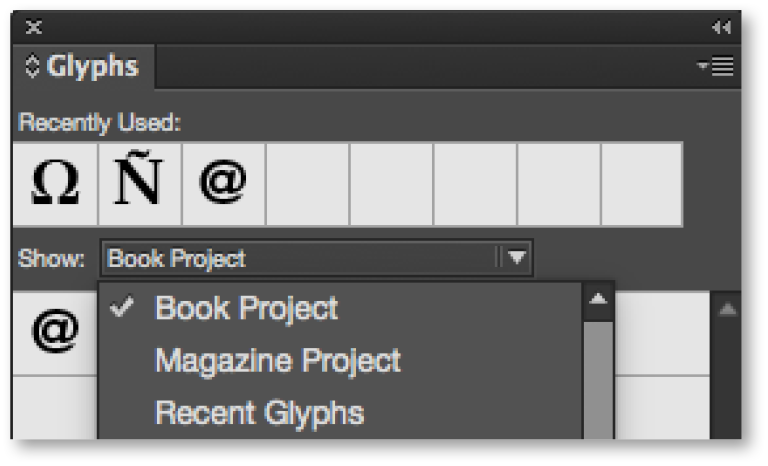
Glyph is a term that encompasses the various elements of a typeface, including letters, characters, and alternative letter forms for things like ligatures and swashes. Creating a custom glyph set is a way to save and organize glyphs you commonly use, like arrows and bullets, and because they are not attached to a particular document and are stored as files in the InDesign preferences folder, they can be shared with other users. When using Adobe Creative Cloud to sync preferences, glyph sets are one of the items you can choose to keep synched between workstations using the same Creative Cloud account.
Create a Custom Glyph Set
- Choose Type>Glyphs to open the Glyphs panel. Choose New Glyph Set from the panel menu by clicking the down-facing triangle at the top right of the Glyphs panel.
- Name the set and click OK.
- In the Glyphs panel, select the character to be added to the set.
- Select Add to Glyph Set>[Set Name] from the Glyphs panel menu.
- Repeat steps 3 and 4 to add more glyphs to a set.
Note: Remember that the glyphs in your custom glyph set can be added from multiple fonts.
Now when you are working on a project and need a special character, you can select your custom glyph set from the Glyph Set menu in the Glyphs panel. With the text tool selected and an insertion point in the text, just double-click the glyph and it will be inserted.
To learn more about glyphs, see Adobe’s Create and Edit Custom Glyph Sets for more information.
For other great tips, sign up for the TFP newsletter. Want to learn even more and become an expert? Check out our best-selling products at www.tech4pub.com/products.
Posted by: Monica Murphy


