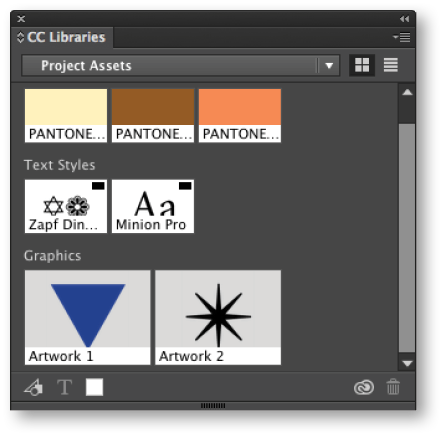
Added in the February release of InDesign CC, Creative Cloud Libraries provide an easy way to organize and share design assets like graphics, color swatches, and text styles. These libraries can be shared among your creative team, from multiple computers and devices and across multiple applications like Adobe Photoshop CC, Adobe Illustrator CC, and Adobe InDesign CC and mobile apps like Shape CC.
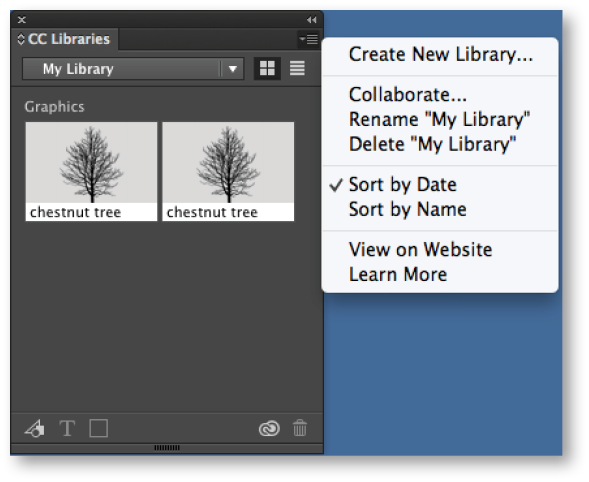
Selecting Yes will open the CC Libraries panel. This panel can also be accessed by going to Window>CC Libraries. The panel menu has options to create and organize your library. More important, you can create multiple Creative Cloud Libraries in which you can easily organize your design assets by project or type of asset, for example, as well as invite your creative team to collaborate and share your libraries. Note: Selecting No opens the dialog to create a new InDesign Library.
Migrate InDesign Library Assets
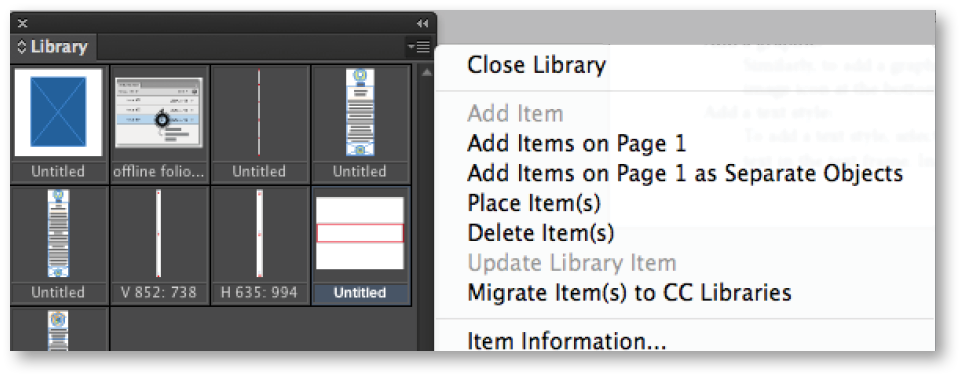
If you have an existing InDesign Library, the assets from that library can be copied to new or existing Creative Cloud Libraries. The option to Migrate Item(s) to CC Libraries is available in the InDesign Library panel menu.
Adding InDesign Assets to a CC Library
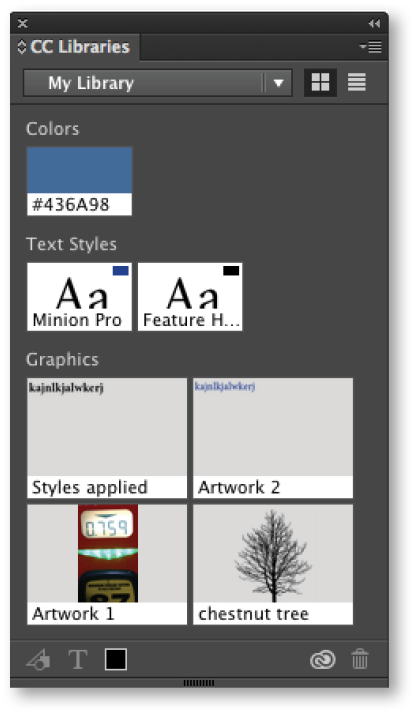
Add a color To add a color to the current CC Library, select the color in the current document. The color is displayed in the icon at the bottom of the library panel. To add the color to the library, click the color icon.
Add a graphic Similarly, to add a graphic to the CC Library, select the graphic in the document. The image is added to the image icon at the bottom of the library panel. To add the image to the library, click the image icon.
Add a text style To add a text style, select the text frame containing the text. Alternatively, you can select text in the text frame, which will add the style for that specific piece of text within the text frame. The text style is added to the text icon at the bottom of the library panel. To add the style to the library, click the text style icon.
Note: CC Libraries do not save defined paragraph and character styles, just the attributes. As a workaround, you can apply styles to text and add the text box as a graphic element. This will save the applied text styles and import them into the document when the library asset is placed.
Editing an Asset in the Library
To edit an asset in the CC Library, double-click the asset in the library panel or right-click the asset and choose Edit. After you have edited the asset, the preview and the content will update accordingly.
Using a CC Library Asset in an InDesign Document
To use an InDesign asset from the CC Library in a document, select the asset and drag and drop the asset on the document. If the asset is an Illustrator or Photoshop asset, the drag-and-drop operation works in the same way as the File>Place command. Graphics are loaded onto the InDesign Place gun for placement. You can place the graphic using the existing place gun functionality, which allows you to load multiple graphics onto the gun, place the graphics sequentially, or use the left and right arrow keys to select and then place the loaded graphics.
Note: An asset, such as a brush created in Illustrator or Photoshop, will be displayed in the library as disabled, since this asset type cannot be used in InDesign. Conversely, you can only use application-compatible InDesign assets in Illustrator or Photoshop.
To learn more about CC Libraries, check out Adobe’s Creative Cloud libraries—collaborate, sync, and share assets.
For other great tips, sign up for the TFP newsletter. Want to learn even more and become an expert? Check out our best-selling products at www.tech4pub.com/products.
Posted by: Monica Murphy


